
The Complete Guide to Thermal Imaging for Hunting
Thermal imaging for hunting lets you find animals by their body heat in complete darkness, through light fog and across open ground, with no ambient light at all. It is the most effective way to detect game at night, which is why thermal optics have become standard kit for boar, fox, and deer hunters across Europe and the rest of the world. This guide explains how thermal works, the specs that actually matter, the types of devices, how to choose the right one, how to use it in the field, what it costs, and where it stands legally.
By the end you will know exactly what to look for, what to ignore, and which type of thermal optic fits the way you hunt. We sell these devices every day, so the advice here comes from what works in the field, not just spec sheets.
In this guide
- How thermal imaging works for hunting
- Thermal imaging vs night vision
- The specs that actually matter
- Types of thermal optic
- How to choose the right one
- Thermal in the field, by quarry
- Setting up and looking after your optic
- Is thermal legal for hunting in Europe?
- How much does it cost?
- FAQs
How thermal imaging works for hunting
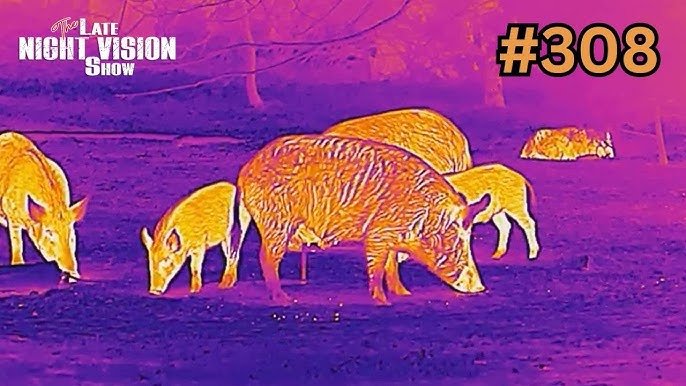
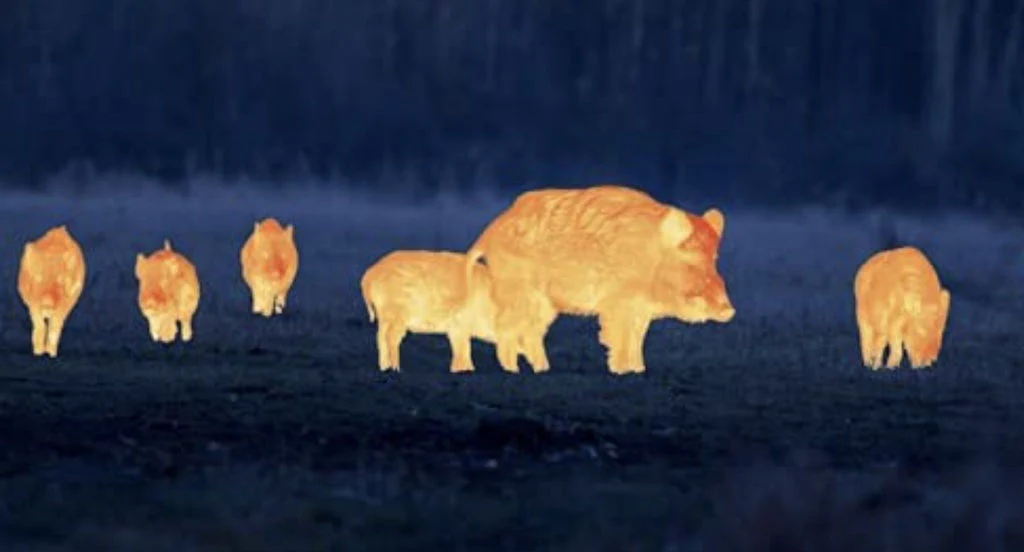
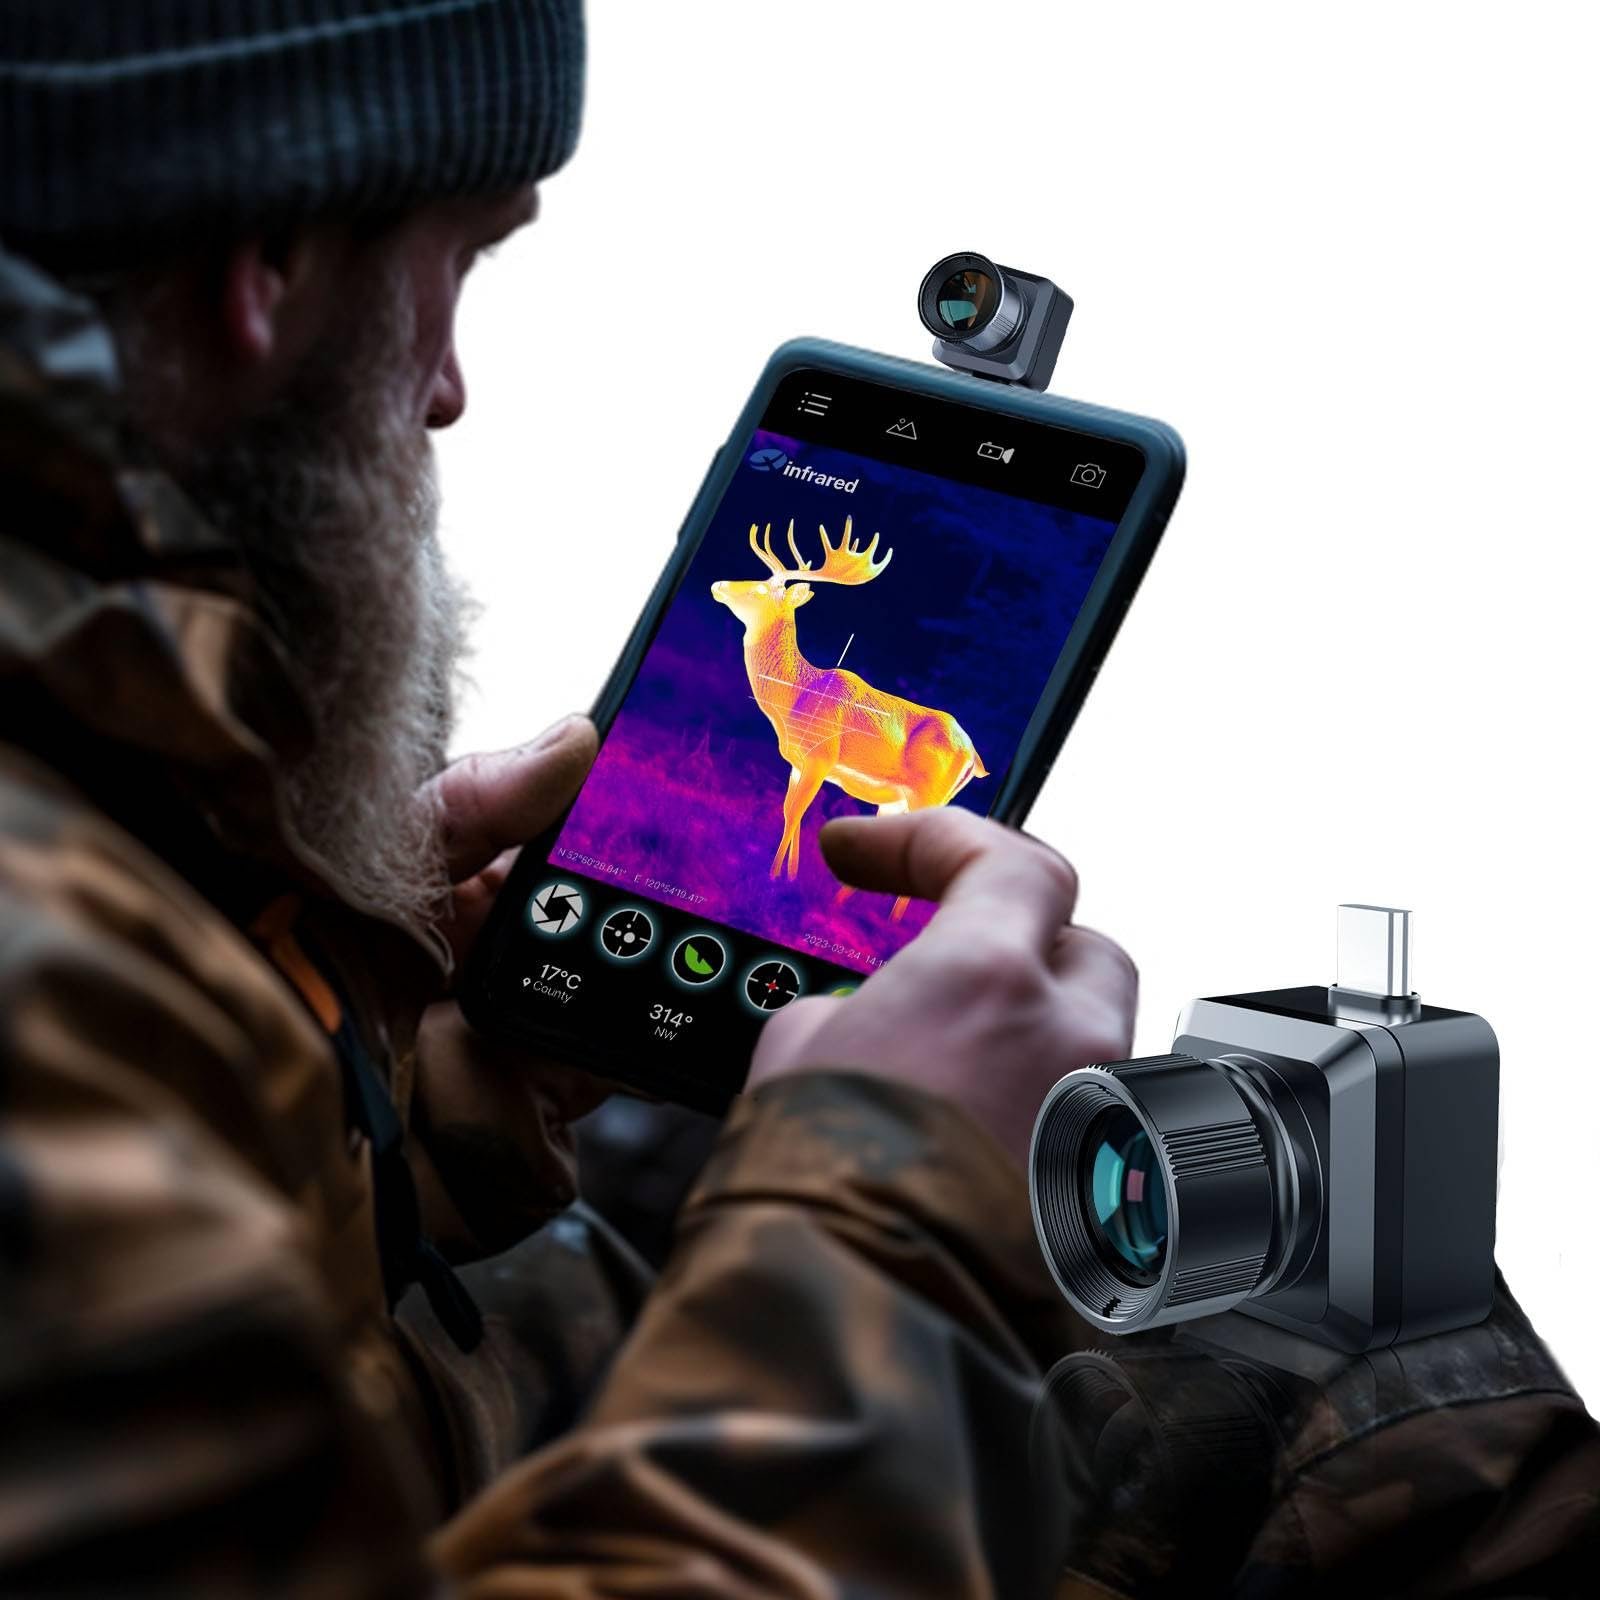
A thermal optic detects infrared radiation, which is the heat that every warm body gives off, and turns it into a visible image. It does not amplify light like night vision does, so it needs no moonlight, no starlight and no torch. A warm animal stands out clearly against cooler ground, even in pitch dark.
Inside every thermal device is an uncooled sensor called a microbolometer. It reads tiny temperature differences across the scene and paints them as a picture, usually with hotter objects shown brighter or in a warm color. Because the image comes from heat and not light, thermal works just as well at midnight as at midday, sees through smoke and light fog, and cannot be blinded by a bright lamp. For a more profound look at the physics, read how thermal imaging works.
Why hunters use thermal instead of a lamp or the naked eye
Thermal gives you three things a lamp never can. You spot game that the eye would never see because heat cuts through darkness and cover. You stay hidden because there is no white light to spook a wary boar or fox. And you scan ground fast, sweeping a whole field in seconds to pick out what is warm and moving.
One limit is worth stating plainly. Thermal shows you heat shapes, not fine detail, so it is brilliant for finding an animal but weaker for studying antlers, coat markings, or a precise aiming point at a distance. That is why many hunters pair it with another optic, which we cover below.
Thermal imaging vs night vision for hunting
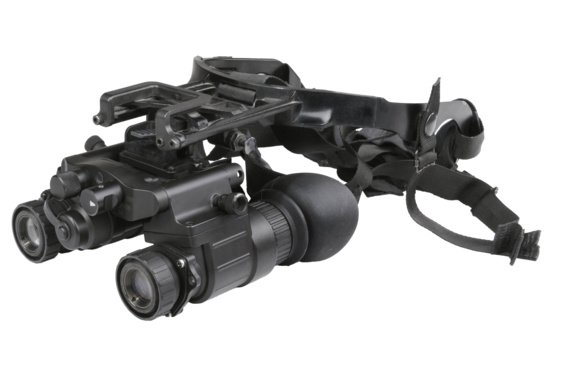
Thermal detects heat, so it is the best tool for finding game; night vision amplifies light, so it gives a more natural, detailed image for identifying and confirming a target. They solve different problems, and serious hunters often own both. The full breakdown is in thermal vs night vision, but here is the short version.
| Capability | Thermal imaging | Night vision |
|---|---|---|
| Works in total darkness | Yes, needs no light | Needs some light or an IR illuminator |
| Detects camouflaged or hidden game | Excellent, reads heat through cover | Limited, sees only what light reveals |
| Image detail for identification | Heat shapes, less fine detail | Natural, detailed image |
| Sees through light fog and smoke | Yes | No |
| Best role | Detection, finding game fast | Identification, confirming the target |
| Daytime use | Yes | No, bright light can damage tubes |
Our view after years of selling both: if you buy one device first, buy thermal, because finding the animal is the challenging part. Add night vision later if your hunting needs precise identification in the dark.
The thermal specs that actually matter for hunting
Five numbers decide how a thermal optic performs in the field: sensor resolution, thermal sensitivity, detection range, refresh rate and lens. Get these numbers right for your quarry and terrain, and the rest is just detail. Here is what each one means and what to look for.
Sensor resolution (256 vs 384 vs 640)
Resolution is the pixel count of the thermal sensor, and it is the single biggest driver of image quality and how far out you can identify game. Common sizes are 160×120, 256×192, 384×288 and 640×512. A higher count packs more detail into the image, so you not only detect that something is warm but can start to tell what it is. The full comparison sits in thermal sensor resolution explained and the buying angle in 384 vs 640 thermal.
Thermal sensitivity (NETD)
NETD measures the smallest temperature difference the sensor can see, written in millikelvin, and lower is better. A sub-20 mK sensor, like the one in the AGM Sidewinder range, separates a warm animal from cool grass far more crisply than a 35 mK sensor, and the gap shows most on damp, mild nights when the temperature contrast is small. If you hunt in wet European weather, NETD matters more than the brochure suggests. More on this in what is NETD.
Detection range and DRI
Detection range is how far away the device can spot a heat source, but it is not how far you can identify it. Manufacturers quote detection, which is generous; what fills the freezer is identification, which is always much closer, often a third to a half of the detection figure. The industry frames this as DRI: detection, recognition, identification. Read how far can a thermal monocular see and what DRI range means before you trust a single big number.
Refresh rate
Refresh rate is how many times per second the image updates, and 50 Hz is what you want for hunting. A 50 Hz image stays smooth as you pan across a field or track a running boar, while slower rates smear and lag. Almost every current hunting-grade thermal runs at 50 Hz; see thermal refresh rate explained.
Lens, magnification and field of view
The objective lens sets your reach and your field of view, and the two pull against each other. A longer lens, say 35 mm or 50 mm, reaches further and magnifies more, but narrows the field of view, so you see less ground at once. A shorter lens gives a wide view for fast scanning at closer range. Match the lens to your typical distance: short for woodland and close cover, long for open hill and field edges. Note that base optical magnification matters more than digital zoom, which only enlarges the pixels you already have.
| Spec | What it controls | What to look for (hunting) |
|---|---|---|
| Sensor resolution | Detail and identification range | 384 for all-round; 640 for long range |
| NETD | Image clarity in poor contrast | Sub-20 mK if your weather is wet |
| Detection range | How far you can spot heat | Compare like for like; ignore hype |
| Refresh rate | Smoothness on moving targets | 50 Hz |
| Lens / focal length | Reach vs field of view | 15-25 mm woodland, 35-50 mm open ground |
| Pixel pitch | Sensor efficiency | 12 micron is the current standard |
If you want to decode a full spec sheet line by line, see how to read a thermal optic spec sheet and 12-micron vs 17-micron sensors.
Types of thermal optic for hunting
There are four types of thermal optic, and each does a different job: monoculars for scanning, riflescopes for aiming, clip-ons for converting a day scope, and binoculars for long-range observation. Most hunters start with a monocular and add a scope or clip-on later. The full decision sits in thermal monocular vs scope vs clip-on.
Thermal monoculars
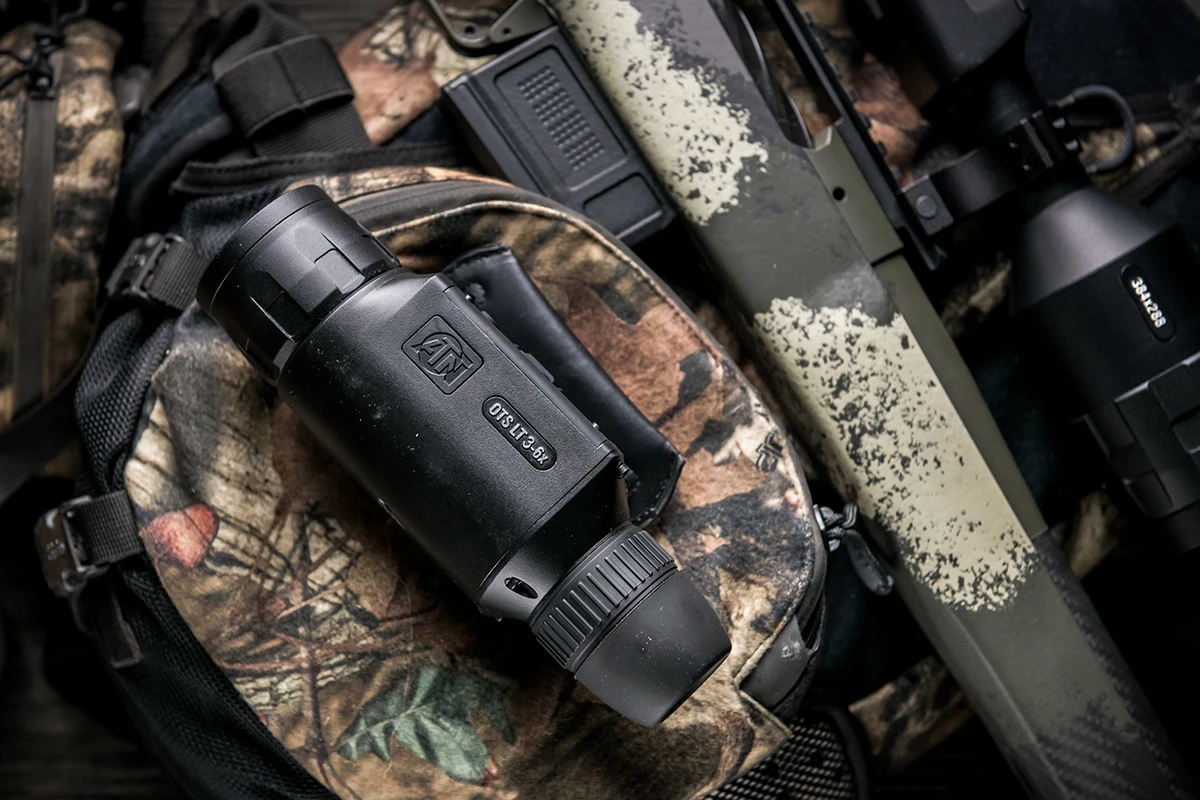
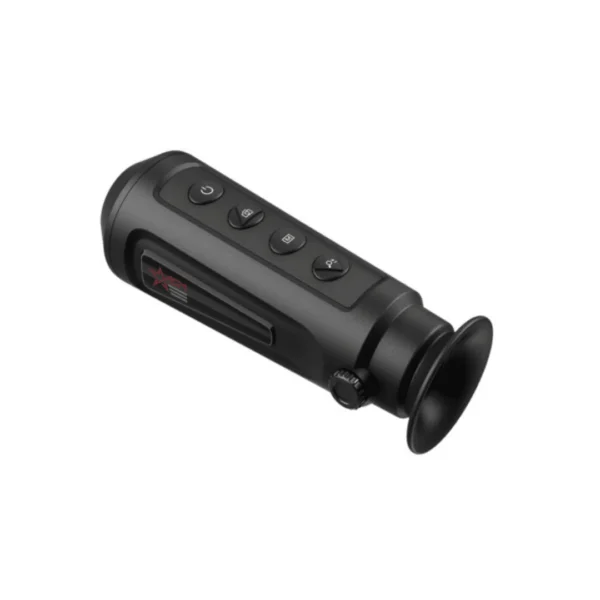
A thermal monocular is a handheld scanner, and it is the device most hunters should buy first. You use it to sweep ground, find game and confirm what is out there before you move, but you do not aim a rifle with it. They run from entry units like the AGM Asp-Micro TM-160 up to long-range 640 models like the AGM Sidewinder TM50-640. Browse the full range of thermal monoculars.
Thermal riflescopes
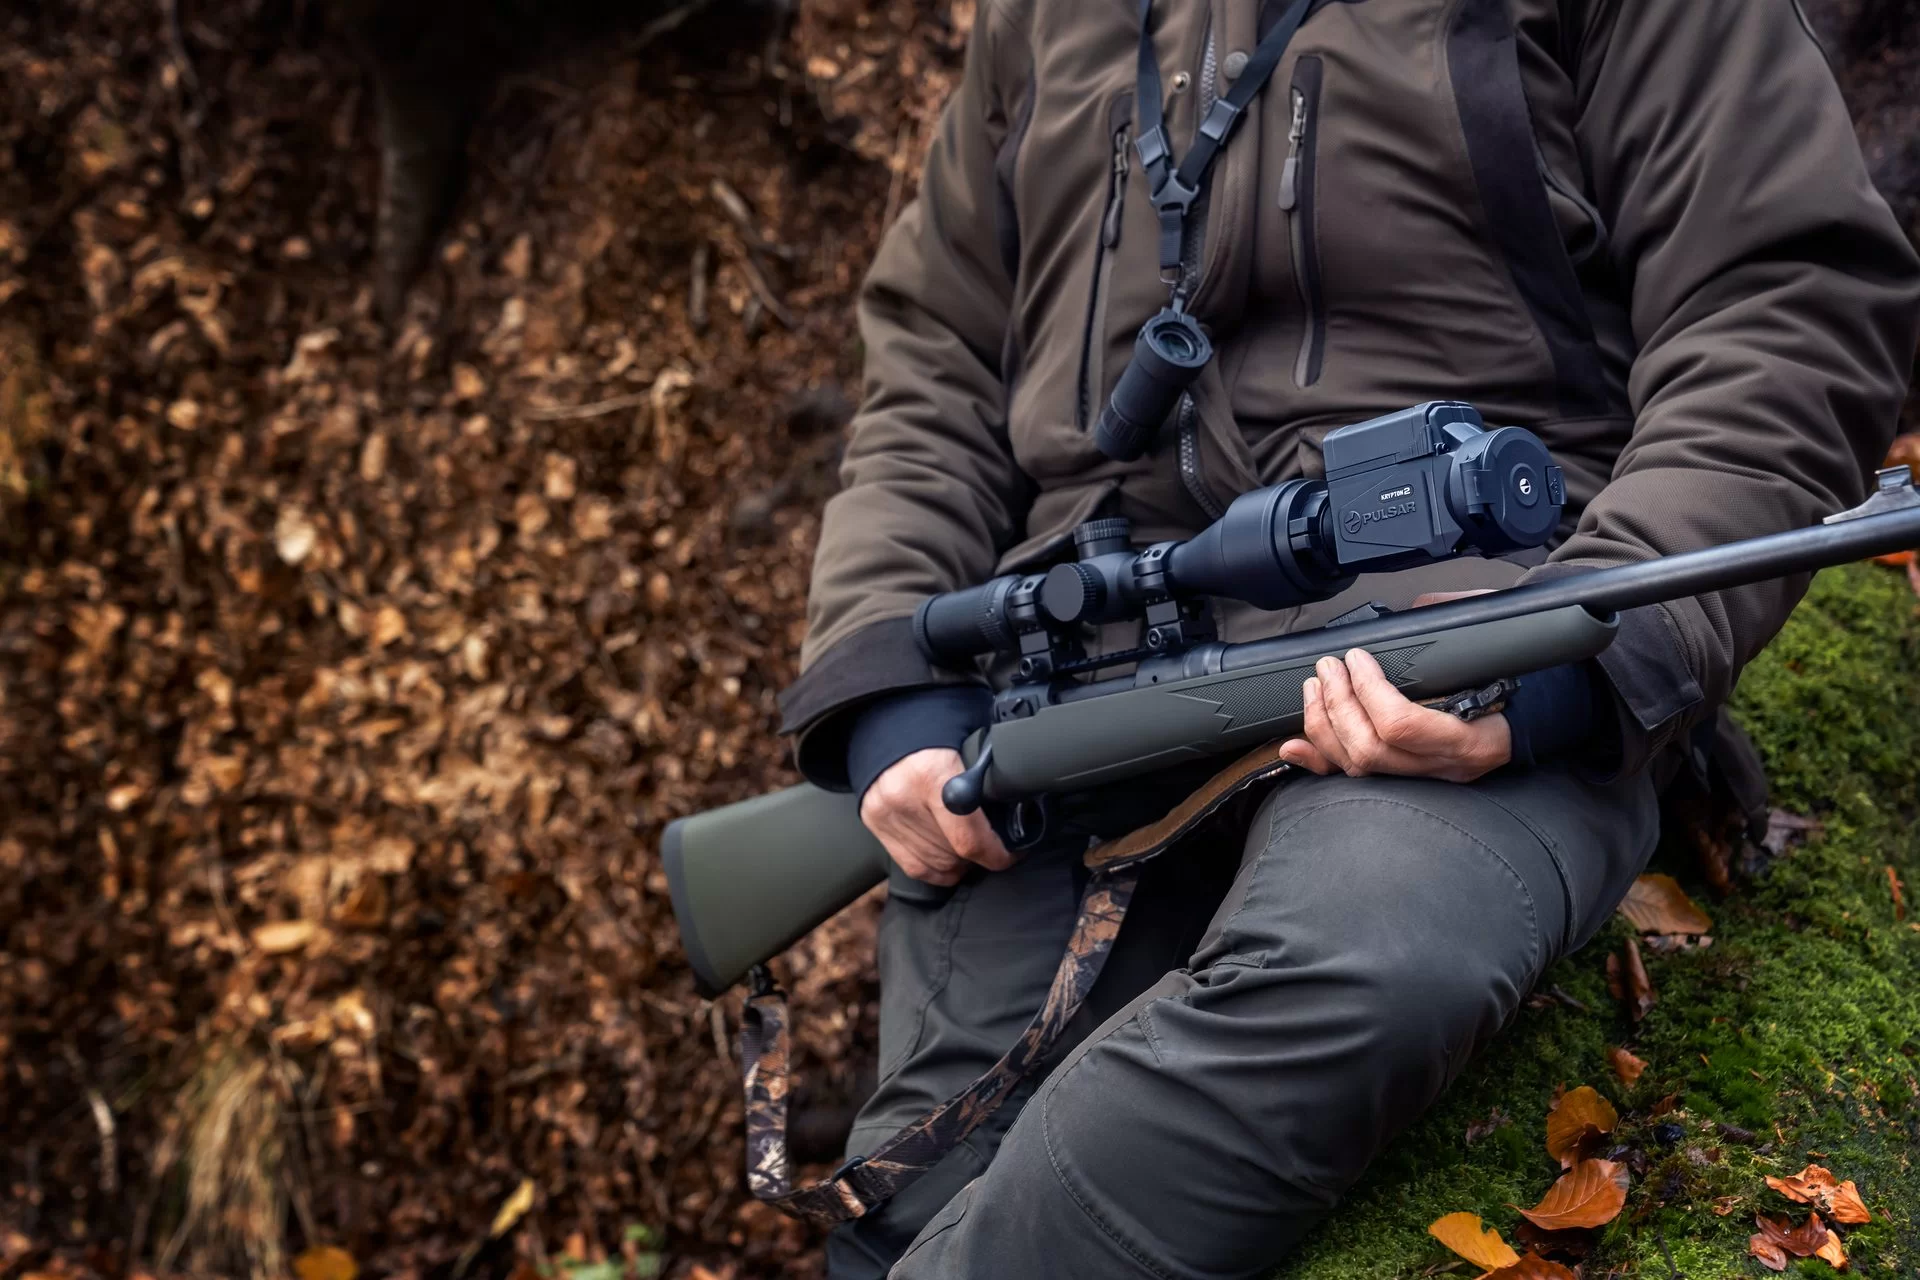
A thermal riflescope mounts on your rifle and is what you aim and shoot with at night. It replaces your day scope for night work and carries its own reticle and zero. Models like the AGM Rattler TS35-384 and the long-range ThermTec Ares 650 LRF, which adds a 1,000 m laser rangefinder, sit here. See all thermal riflescopes.
Thermal clip-ons
A thermal clip-on mounts in front of your existing day scope and turns it into a thermal sight, keeping your normal reticle and zero. This suits hunters who want one rifle for day and night without buying a separate scope. The AGM Rattler TC series and PixFra Chiron clip-ons are popular choices. The trade-offs are covered in thermal clip-on vs dedicated scope.
Thermal binoculars
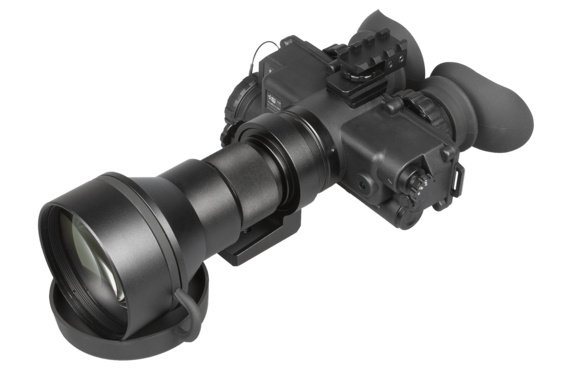
Thermal binoculars provide two-eyed, longer-range observation for glassing large open ground, often with a built-in rangefinder. They are an observation tool rather than a scanner you carry loose, and they suit open-country and professional use more than close woodland.
| Type | Mounts on rifle? | Main job | Best for |
|---|---|---|---|
| Monocular | No (handheld) | Scanning and finding game | Your first thermal; everyone |
| Riflescope | Yes (replaces day scope) | Aiming and shooting at night | A dedicated night rifle |
| Clip-on | Yes (in front of day scope) | Converting a day scope, keeps zero | One rifle for day and night |
| Binocular | No | Long-range observation | Open ground, professionals |
How to choose the right thermal optic for hunting
Choose by what you hunt, the range you shoot and your budget, in that order. Set those three first, then pick the highest sensor resolution you can afford, then the lens that suits your distance. The step-by-step version is in how to choose a thermal monocular.
Choose by what you hunt
- Wild boar in woodland and field edges: a 384 monocular with a 25-35 mm lens handles most situations well.
- Fox and predators at a distance require good resolution and reach, so a 384 or 640 with a 35-50 mm lens is essential.
- Deer management: a 384 monocular for scanning, paired with a day scope or night-vision device for the shot.
- Open hill and long range: step up to a 640 sensor for the cleanest image far out.
Choose by sensor and budget
This is where most buyers go wrong. They spend on magnification and skimp on the sensor, then wonder why a zoomed image looks so blocky. Spend on resolution first. A 384 core at a sensible price beats a 256 core pushed to high digital zoom every time. Use our pricing reality check below, the deeper comparison in 384 vs 640 thermal, and the curated picks in the best thermal monocular for hunting and the best thermal scope for hunting.
| Sensor | Realistic role | Example model | From |
|---|---|---|---|
| 160×120 | Short-range scanning, first thermal | AGM Asp-Micro TM-160 | €423 |
| 256×192 | Close to medium scanning, recovery | AGM Taipan TM15-256 | €805 |
| 384×288 | All-round night hunting | AGM Sidewinder TM35-384 | €1,958 |
| 640×512 | Long range and identification | AGM Sidewinder TM35-640 | €2,315 |
| 640×512 + LRF | Long-range scoped shooting | ThermTec Ares 650 LRF | €3,760 |
Common mistakes hunters make when buying thermal
Most thermal buyer’s remorse comes from a short list of avoidable mistakes. Knowing them before you spend saves money and saves a return.
- Buying a scope before a monocular. A scope only helps once you have found the animal. The monocular finds it. Buy the scanner first.
- Paying for magnification over resolution. High digital zoom on a small sensor gives a bigger, blockier picture, not a better one. Spend on the sensor.
- Treat detection range as identification range. A 2,000 m detection figure does not mean you can tell a boar from a deer at 2,000 m. Identification is always much closer.
- Ignoring NETD. Two devices with the same resolution can look completely unique in damp weather. Thermal sensitivity is what separates a crisp image from a noisy one.
- Forgetting battery type. An internal-only battery cannot be swapped mid-hunt. If you sit out long nights, choose removable 18650 cells and carry spares.
- Overlooking the law. Thermal is regulated for hunting in many countries and export-controlled for shipping. Check both before you buy.
Thermal imaging in the field, by quarry
Thermal earns its keep on real hunts, and how you use it changes with the quarry. Here is how it works in practice for the animals European hunters chase most, plus the workflow that ties it together.
Wild boar hunting
Thermal is the difference between a blank night and a successful one on boar. Boar move in darkness and hold tight in cover, and their body heat gives them away long before you would see or hear them. Scan field edges and rides with a monocular, pick up the group, then close the distance and take the shot with a thermal scope or a clip-on on your day rifle. The full field guide is in thermal imaging for wild boar hunting.
Fox and predator control
For fox work, thermal lets you find and watch an animal at distance without throwing a lamp that educates it. A fox shows up as a clear hot shape across a stubble field, and a 384 or 640 device gives you the range to spot it early and judge its behaviour. See thermal for fox and predator control.
Deer management and stalking
Thermal speeds up deer management by helping you locate animals fast and count them before first light. Use it to find deer and confirm numbers, then switch to a day scope or night vision for the precise identification a cull plan demands. More in using thermal for deer management.
Game recovery and blood tracking
Thermal recovers shot game faster and more humanely, because a downed animal stays warmer than its surroundings for some time. Following a heat trail in the dark turns a long, uncertain search into a short one. Details in thermal for game recovery and blood tracking.
The two-optic setup: scan with a monocular, shoot with a scope
The most effective night-hunting setup is two devices: a handheld monocular to find game and a scope or clip-on to take the shot. You keep the wide, fast-scanning monocular moving to locate animals, then bring the rifle up only when you have a target, which saves battery, saves your arms and keeps you safe by separating finding from aiming. We walk through it in the two-optic night setup.
Beyond hunting
Thermal is not only a hunting tool. Land managers use it for livestock checks and predator control, security teams for perimeter surveillance, and search-and-rescue crews to find people in darkness and undergrowth. The same detection strength that finds a boar also finds a missing walker.
Setting up and looking after your thermal optic
A thermal optic needs zeroing, sensible power management and basic care to perform at its best. None of it is hard, but getting it right keeps you shooting accurately and extends the life of the device.
Zeroing a thermal scope
You zero a thermal scope much like a day scope, using a target that shows a heat contrast so you can see your point of aim and impact. Many scopes offer a one-shot zero that locks the reticle to your shot. The full method is in how to zero a thermal scope.
Mounting a clip-on without losing zero
A clip-on should preserve your day scope’s zero when mounted correctly in front of it on a stable, repeatable mount. Get the alignment and mount right and you can move it between rifles. See how to mount a thermal clip-on and keep your zero.
Battery life and spares
Battery type decides how long your night lasts. Devices with removable 18650 cells let you carry spares and swap them in seconds, while internal batteries are simpler but tie you to a power bank for long sessions. Plan for the length of the hunt you actually do. More in thermal battery life: 18650 vs internal.
Cleaning and storage
Keep the germanium lens clean with a proper lens cloth and never wipe grit across it. Store the device dry, remove the battery for long periods, and charge lithium cells before storage. Full care steps are in how to clean and store thermal optics.
Is thermal imaging legal for hunting in Europe?
Owning a thermal optic is legal across most of Europe, but using it to hunt is regulated at the national and regional level, and the rules vary widely. Some countries allow thermal for certain species, such as wild boar; some permit it only for observation and game recovery rather than shooting; and some restrict it further. You must check the law for your country and quarry before you hunt with thermal.
This guide is general information, not legal advice, and rules change, so confirm the current position with your local hunting authority. We cover the country-by-country picture in is thermal imaging legal for hunting in Europe. Thermal optics are also export-controlled, which can affect delivery to some destinations, so ask us if you are unsure.
How much does a thermal optic for hunting cost?
A hunting thermal optic costs from around €420 for an entry monocular to over €5,000 for a flagship long-range scope with a rangefinder. Most hunters spend between €1,500 and €3,000 on a capable 384 or 640 device that will serve them for years. Here is the lie of the land.
| Budget | What you get | Typical use |
|---|---|---|
| €400 to €900 | Entry 160 or 256 monocular | First thermal, scanning, recovery |
| €1,000 to €2,000 | Solid 384 monocular or scope | All-round night hunting |
| €2,000 to €3,500 | 640 monocular, scope or clip-on | Long range and identification |
| €3,500+ | Flagship 640 with LRF and ballistics | Serious long-range scoped shooting |
For the detailed breakdown by device type, see how much does a thermal scope or monocular cost.
Frequently asked questions
What is the best thermal device for a first-time hunter?
A 384 thermal monocular is the best first thermal device for most hunters. It gives you enough resolution to detect and begin to identify game at realistic ranges, it works for scanning on any rifle setup, and it costs far less than a scope. Start with a monocular to find game and learn how thermal behaves on your ground, then add a scope or clip-on once you know what you need. Buying a scope first is a common and expensive mistake.
Can thermal imaging see through trees and bushes?
Thermal sees a warm animal through light cover such as thin brush, long grass, and reeds, because heat radiates through gaps the eye cannot use. It will not see through solid trunks, dense hedges, or hills, since those block the heat. In practice, this feature is a major advantage: a boar half-hidden in cover that you would walk straight past shows up clearly as a hot shape on a thermal monocular.
Do I need a 640 sensor, or is 384 enough?
For most European hunting, a 384 sensor is enough and is the better value. It detects and identifies game well at the ranges where most boars, foxes, and deer are shot. A 640 sensor earns its extra cost when you hunt open ground at long range or when identification at a distance matters because it shows more detail far out. Spend the difference on a 640 only if your hunting genuinely needs that reach.
Will a thermal monocular work in the rain?
Yes, but heavy rain and dense fog reduce its range, because water absorbs infrared and cuts the heat contrast. Light rain and mist are no problem, and thermal still outperforms the naked eye in poor weather. A sensor with low NETD, such as sub-20 mK, holds a usable image better in damp conditions than a less sensitive one.
Can I mount a thermal monocular on my rifle?
A standard thermal monocular is a handheld scanner and is not made for aiming. Some models can be configured as a front clip-on, but for shooting you want a dedicated thermal riflescope or a clip-on that keeps your day scope’s zero. The proven setup is to scan with a monocular and shoot with a scope, keeping the two jobs separate.
How long do thermal optics last on a battery?
Most hunting thermal optics run for around 5 to 10 hours on a charge, depending on the model and the use. Devices with removable 18650 cells let you carry spares and swap them in seconds for an all-night session, while units with internal batteries can be topped up from a power bank. Always carry a spare power source for a long hunt.
Why buy your thermal optic from BlackReckon
We are specialists in retailers of thermal imaging optics and night vision, not a single-brand maker, so we recommend the device that fits your hunting rather than the only one we sell. Every optic is checked against its datasheet before it ships; your AGM warranty is handled in-house, and orders go out tracked across the EU and the rest of the world. If you are weighing two models or unsure which sensor you need, talk to us first. You will reach someone who uses this kit in the field.
Quick facts: thermal imaging for hunting
| What it does | Detects game by body heat in total darkness |
|---|---|
| Detection range | 250 m to 2,600 m depending on sensor and lens |
| Sensor resolution | 160×120 to 640×512 (384 is the all-round choice) |
| Thermal sensitivity (NETD) | Sub-20 mK to 35 mK (lower is better) |
| Refresh rate | 50 Hz for smooth tracking |
| Main device types | Monocular, riflescope, clip-on, binocular |
| Best first buy | A 384 thermal monocular |
| Price range | €423 to over €5,000 |
| Typical quarry | Wild boar, fox, deer, predators |
| Legal status | Owning is legal in most of the EU; hunting use is regulated locally |
thermal Pricing
Thermal clip-on vs scope
384 vs 640 Thermal
The Best Thermal Scope for…
Thermal Monocular vs Scope vs…
How Far Can a Thermal…
Thermal vs Night Vision
Hi, this is a comment.
To get started with moderating, editing, and deleting comments, please visit the Comments screen in the dashboard.
Commenter avatars come from Gravatar.