
How to Choose a Thermal Monocular (Complete 2026 Buyer’s Guide)
To choose a thermal monocular, match the sensor resolution and lens to your quarry, range, and budget, in that order. Pick the highest resolution you can afford first, then the lens for your typical distance, and treat magnification and extra features as secondary. Get those two decisions right, and you will end up with a monocular that does exactly what you need; without overpaying for reach you will never use.
This guide walks you through every decision in order, with real models and prices, so you can buy once and buy right. It is part of our complete guide to thermal imaging for hunting. If you are not yet sure which monocular is the right device, rather than a scope or clip-on, start with thermal monocular vs scope vs clip-on, then come back here.
Why the monocular is the device most hunters buy first
Before the specifications, it helps to know why a handheld thermal monocular is the usual starting point. A monocular is the most versatile thermal device you can own. You use it to scan ground, find warm animals in the dark, identify what they are, and track or recover them after a shot, all without mounting anything to a rifle. That makes it the safest and most flexible way into thermal, because you find and confirm your target with the monocular before you ever raise a firearm.
A thermal scope is for taking the shot, and a thermal clip-on converts your existing day scope for night use, but neither replaces the scanning job a monocular does best. Many experienced hunters run a monocular alongside a scope for exactly this reason: one finds the game, and the other takes the shot. If you own only one thermal device, a monocular is almost always the right first purchase. Our full range sits on the thermal monoculars page, and you can compare handheld options in the thermal monocular guide.
Products by Category
-
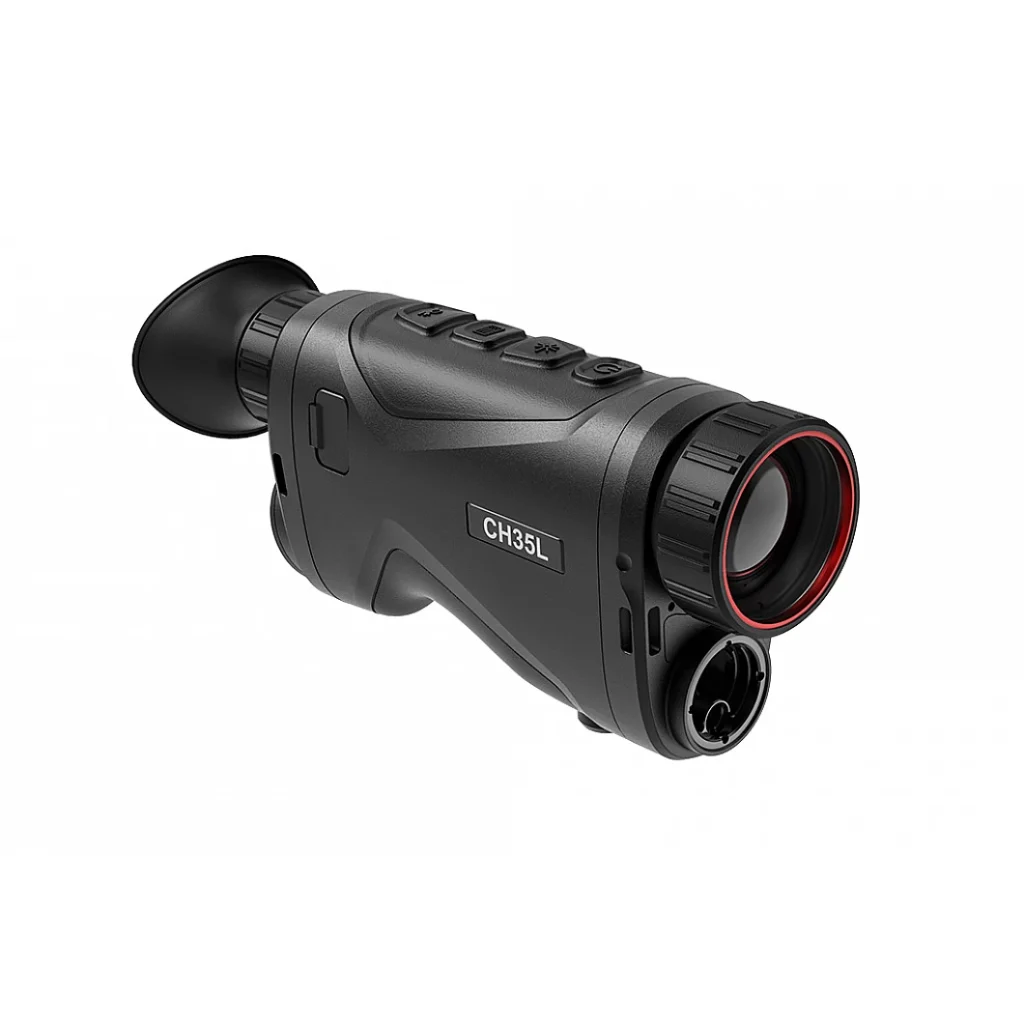
HIKMICRO CONDOR LRF Thermal Monocular
-
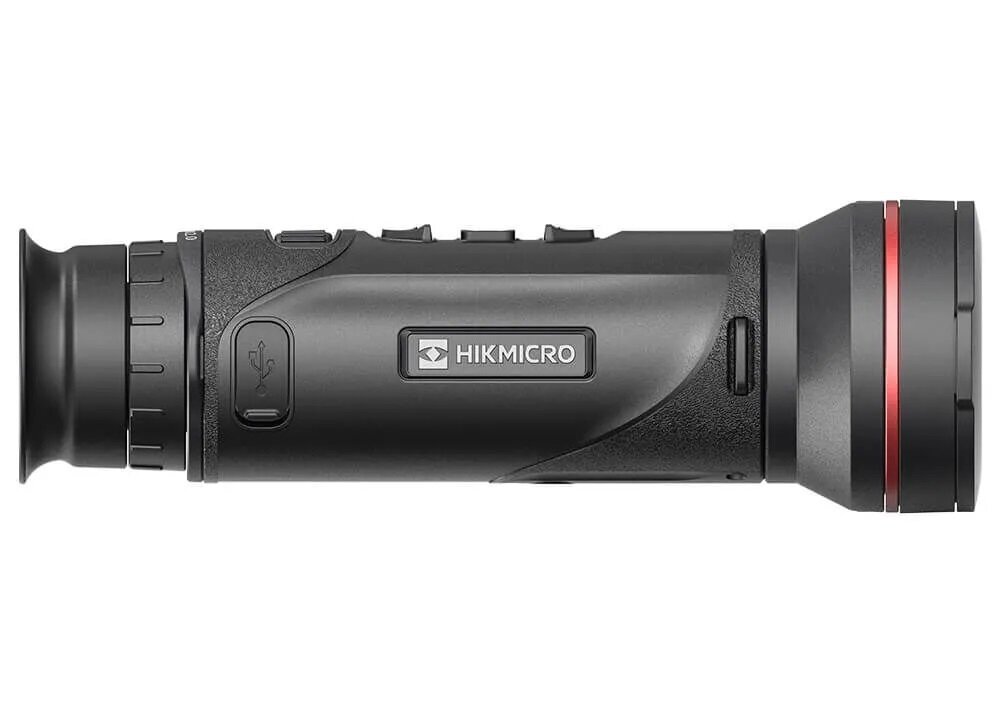
HIKMICRO FALCON Thermal Monocular
-
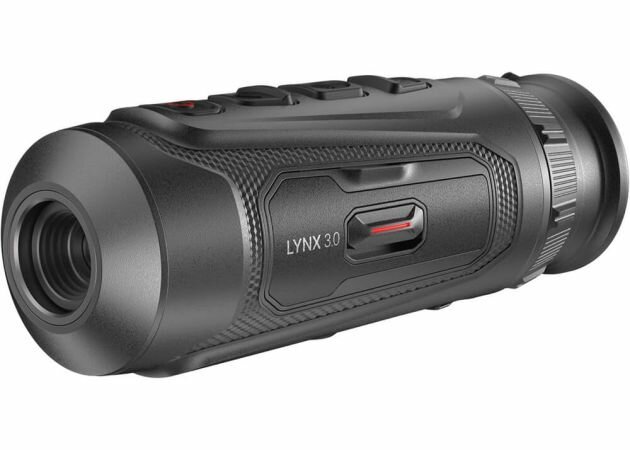
HIKMICRO LYNX 3.0 Thermal Monocular
-
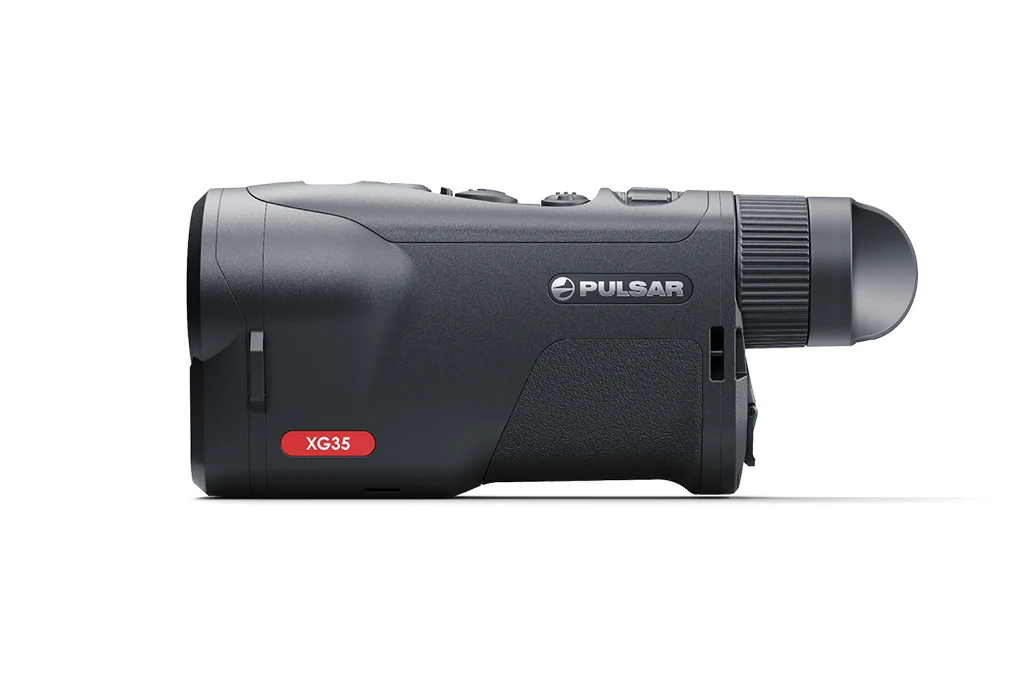
Pulsar Oryx LRF XG35 Thermal Imaging Monocular
-
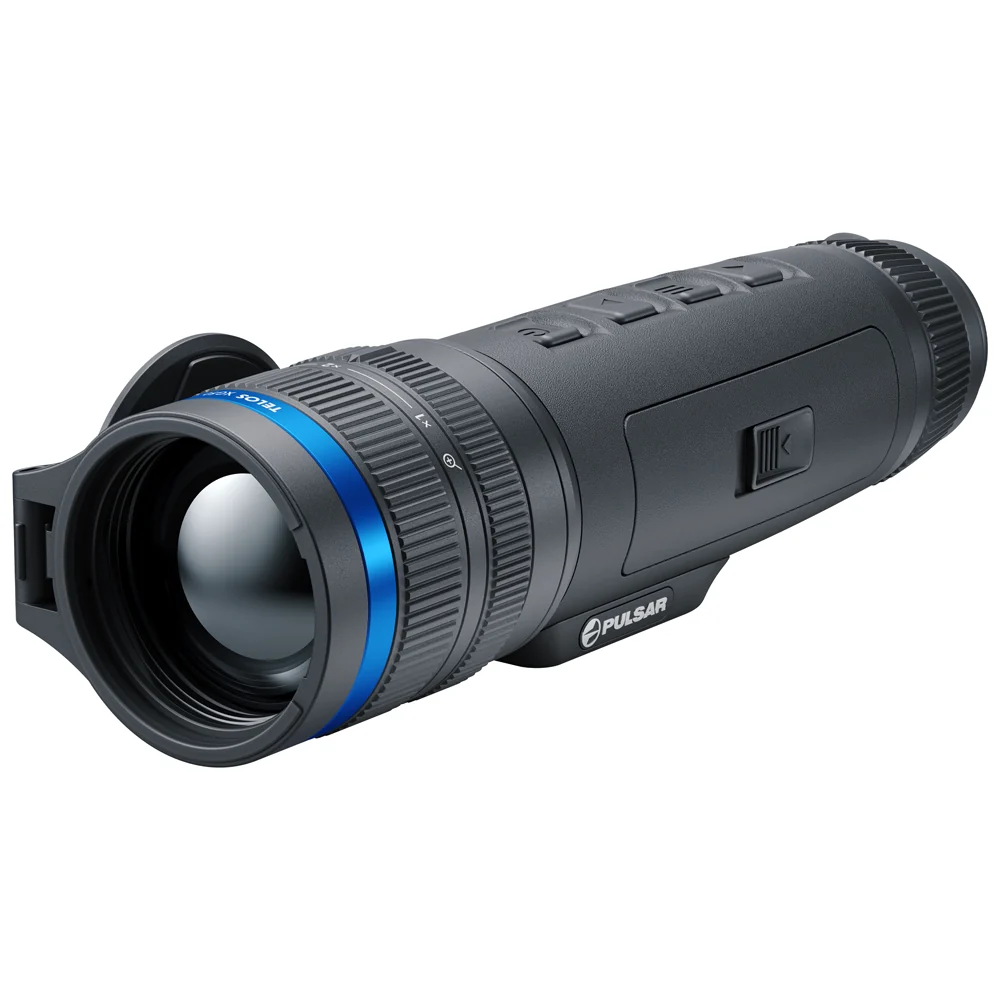
Pulsar Telos XG50 Thermal Imaging Monocular
-
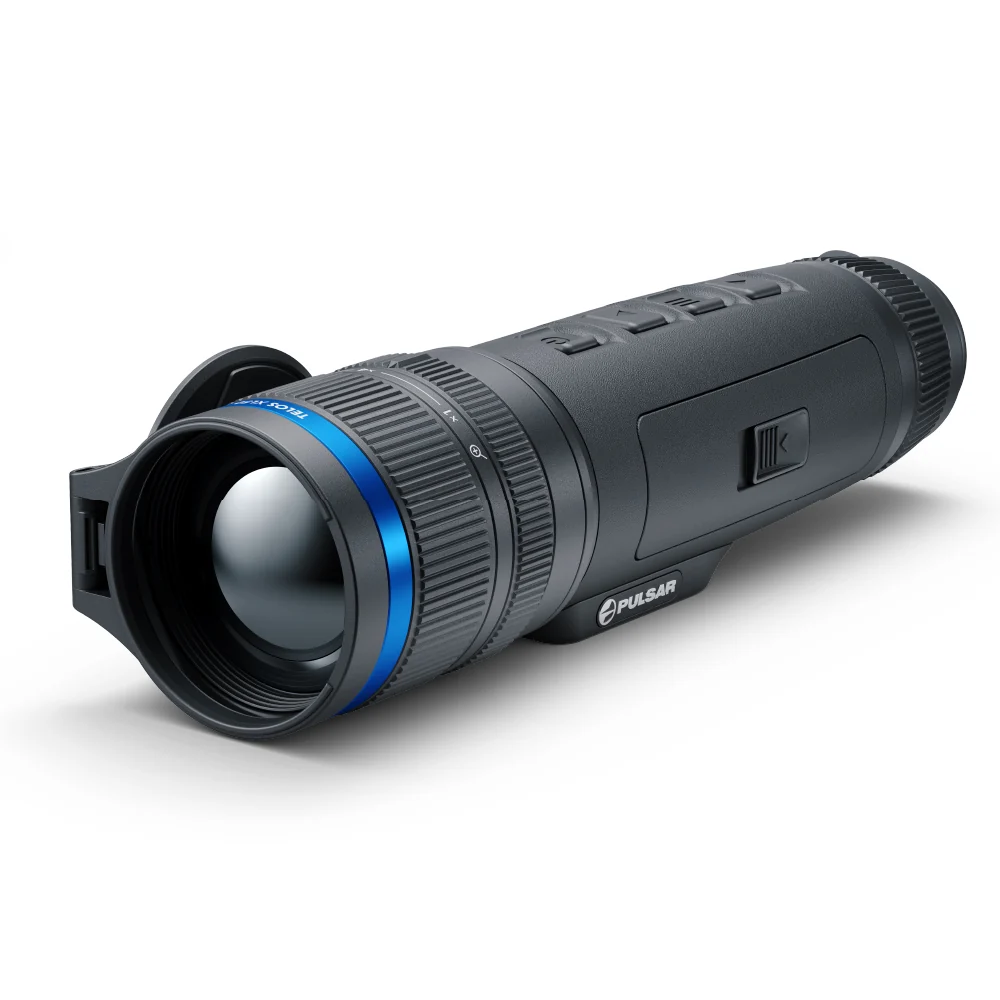
Pulsar Telos XL50 Thermal Imaging Monocular
-
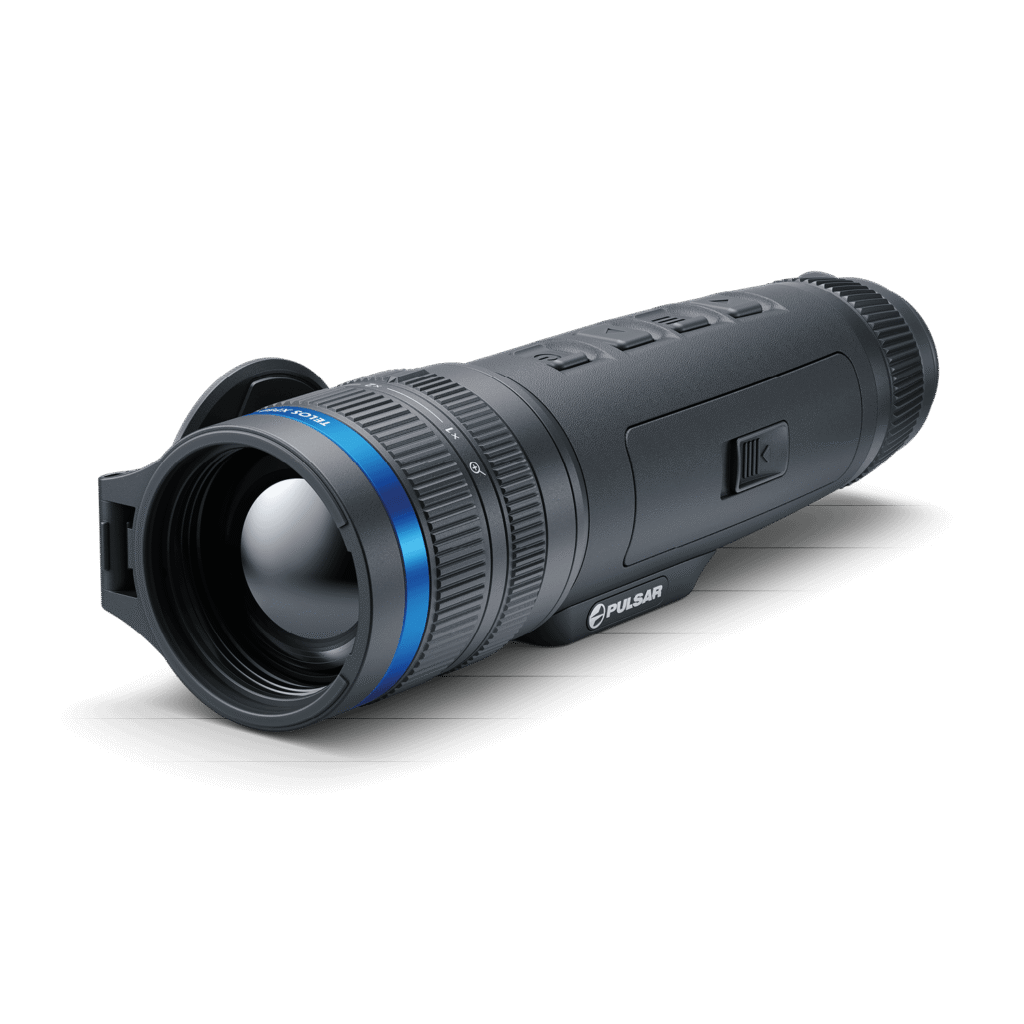
Pulsar Telos XP50 Thermal Imaging Monocular
-
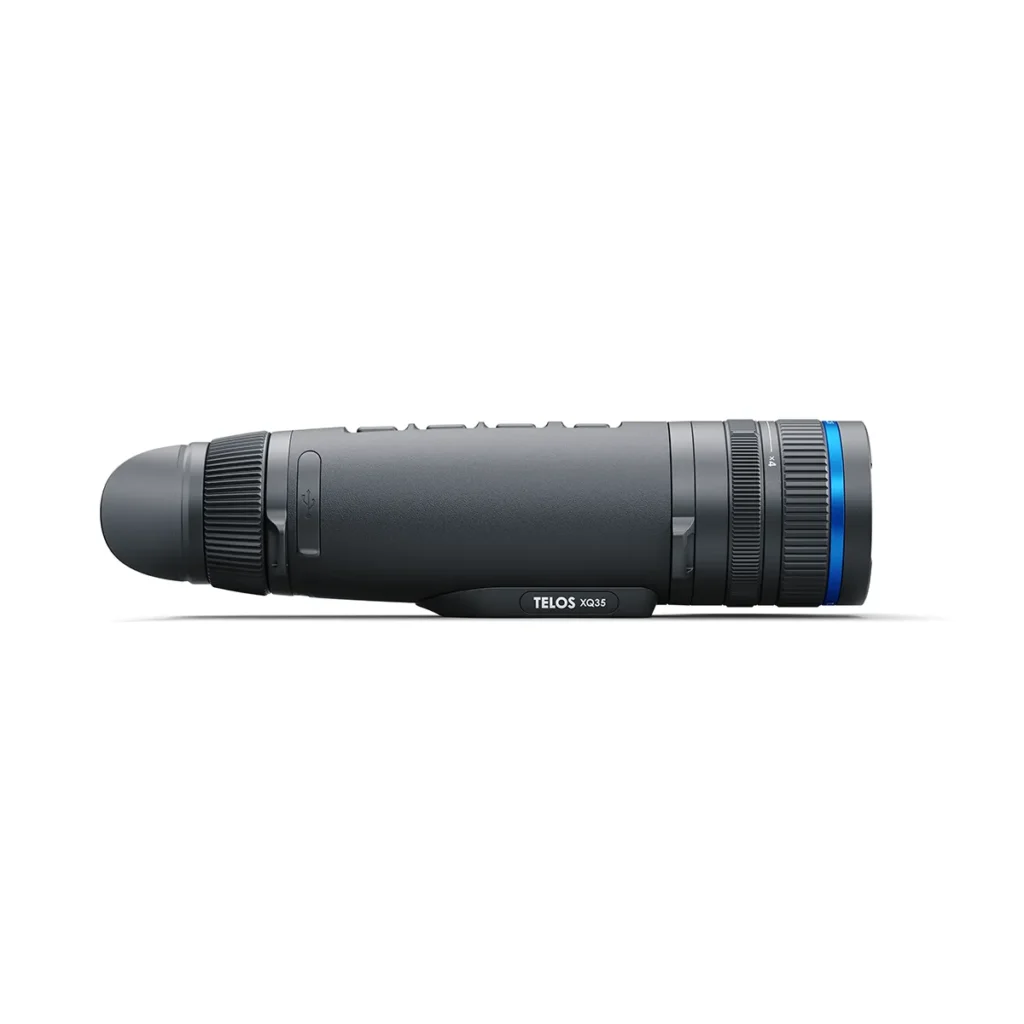
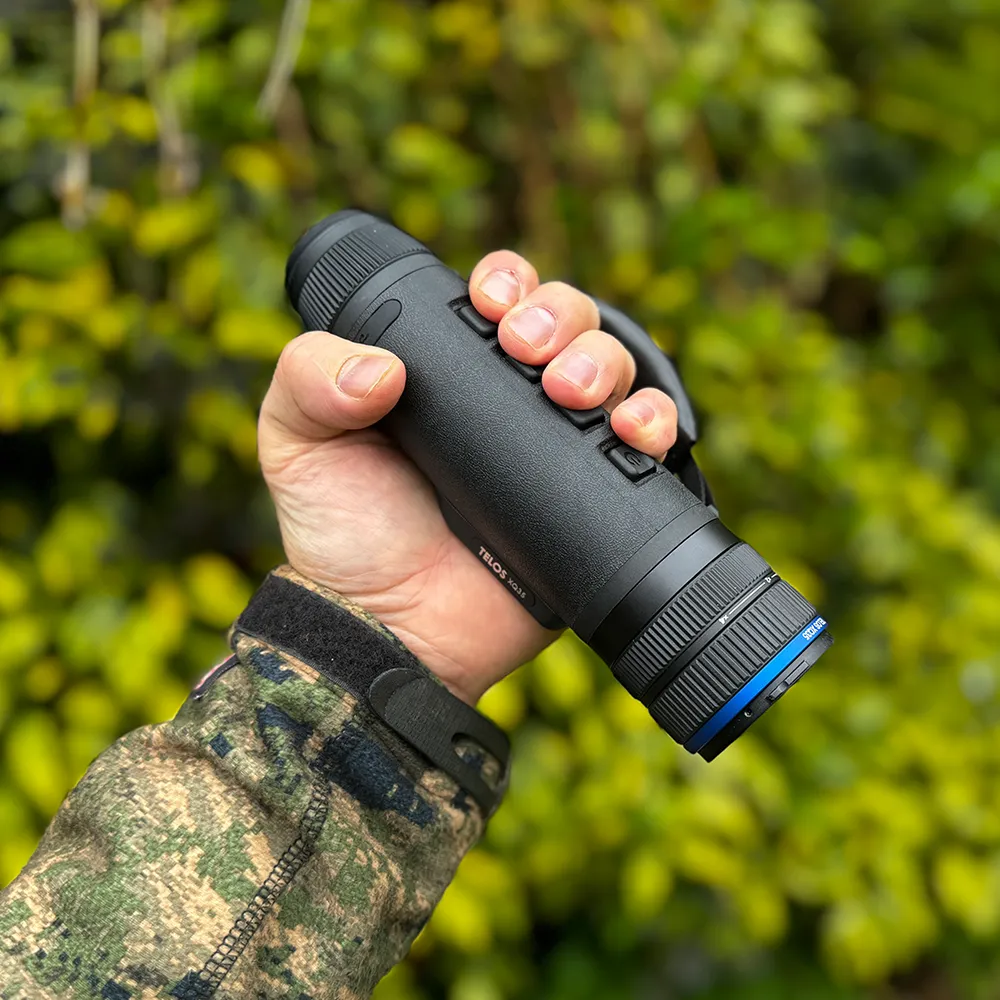
Pulsar Telos XQ35 Thermal Imaging Monocular
-
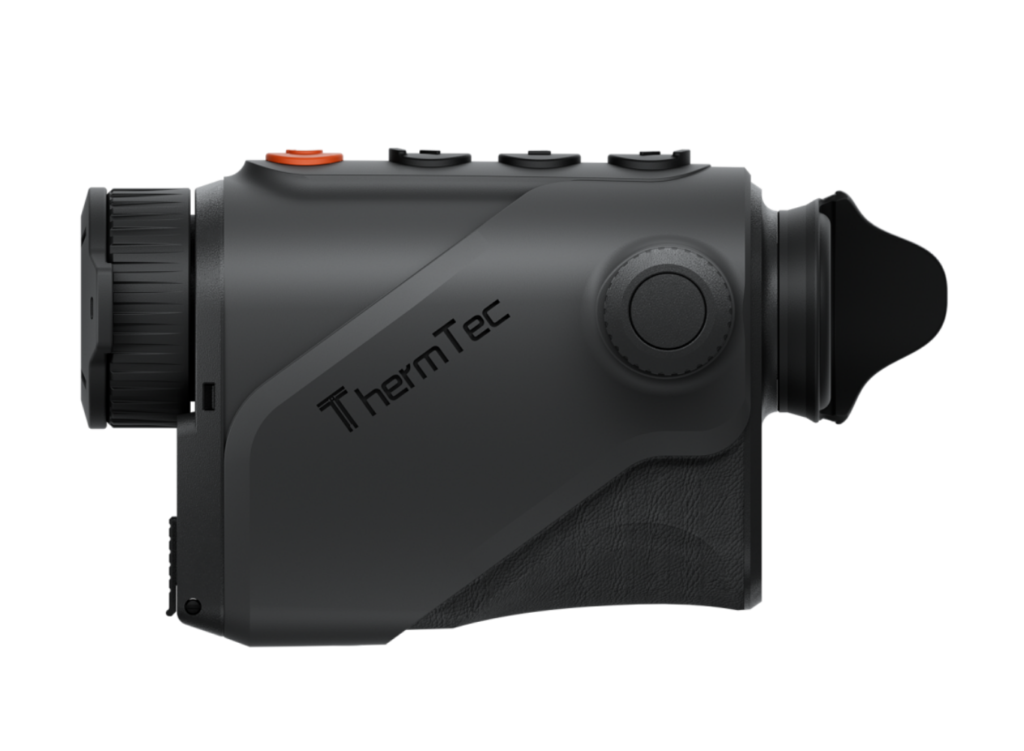
ThermTec Cyclone Compact Thermal Monocular
Step 1: Set your range and budget.
Start with two numbers: the farthest distance you realistically need to see and what you can spend. These two decisions shape everything else.
If you scan woodland and field edges out to a few hundred metres, you need far less reach than someone glassing open hills or moorland. Be honest about the distance you actually shoot and observe, not the distance you imagine. Most hunting happens closer than people expect, and buying for an extreme range you rarely use wastes money that would be better spent on sensor quality.
Setting a firm budget does the same job from the other side. It stops you from overspending on capabilities you will not use, and it stops you from underspending and being disappointed on the first damp night. As a rough guide, entry 256 units start around €420, a good all-round 384 monocular runs roughly €1,000 to €2,000, and flagship 640 models go higher. We break the full pricing picture down in how much a thermal scope costs, which applies equally to monoculars.
Once you know your range and budget, the rest of this guide is matching specifications to them.
Step 2: Choose your sensor resolution.
Sensor resolution is the single most important choice, because it drives how far you can identify a game, not just detect it. This is the specification to fix first and protect in your budget.
- 256 sensors: suits short to medium-range scanning, a first thermal, and game recovery. Affordable and genuinely useful at closer range.
- 384 sensors: the all-round sweet spot for regular night hunting. It adds the detail you need to start identifying game confidently, and it is where most hunters should land.
- 640 sensor: the cleanest, longest-range image, for open ground and long-range identification. It’s worth the premium only if you regularly need to identify game at a distance.
In general, prioritize resolution over magnification. A higher-resolution sensor at modest magnification beats a low-resolution sensor pushed to high zoom every time. The full comparison, with side-by-side image examples, is in 384 vs 640 thermal.
There is also a newer tier above 640: some flagship devices now use 1024 or 1280 sensors for extreme long-range identification. These are specialist tools, and for the vast majority of hunters, a 384 or 640 remains the right choice.
Step 3: Check the thermal sensitivity (NETD).
NETD indicates how small a temperature difference the sensor can detect, in millikelvin, and lower values are better. Specification brochures are often buried and overlooked, but they matter more than most realize.
A sub-20 mK sensor holds a clearer image in damp, mild weather when thermal contrast is low, which describes a great many European hunting nights. Two monoculars with the same resolution can look noticeably different if their NETD differs, so treat it as a real quality marker, not a footnote. Under 20 mK is the quality bar; under 15 mK is elite and found on flagship sensors from brands like HIKMICRO and ThermTec.
Here is the principle worth remembering: resolution sells devices, but sensitivity finds animals. On a wet November night, a lower NETD often does more for your image than extra pixels do.
Step 4: Match the lens to your distance.
The objective lens sets your reach and your field of view, and the two pull against each other.
A longer lens, such as 35 mm or 50 mm, reaches further and magnifies more but shows less ground at once. A shorter lens, such as 19 mm or 25 mm, gives a wide view for quick scanning at closer range. Choose short for woodland and close cover where you need to catch movement across a wide arc, and long for open fields and hillsides where reach matters more than width.
This is why detection range varies so much between models that share the same sensor: the lens is doing the work. The mechanism is explained in full in how far a thermal monocular can see, which is worth reading before you compare any two spec sheets.
One honest caution on range figures: the headline detection number assumes a large, warm target in ideal conditions. The distance at which you can actually identify what an animal is runs far shorter, often a fraction of the detection figure, and weather shortens it further. Never buy based on detection range alone.
Step 5: Consider battery, recording, and ranging.
Once the sensor and lens are settled, look at the practical extras that separate a good night from a frustrating one.
Battery. Removable batteries, such as 18650 cells, let you carry spares for all-night sessions. Internal batteries are simpler but tie you to a power bank when they run down. If you hunt long nights, prioritize a swappable battery.
Refresh rate. A 50 Hz refresh rate keeps moving games smooth and reduces motion blur when you pan. Lower refresh rates can smear a running animal.
Recording and Wi-Fi. Onboard recording and Wi-Fi let you save and share footage, review a stalk, or confirm identification afterward. Not essential, but genuinely useful.
Rangefinder. Some monoculars, like the Pulsar Telos or Oryx LRF, add a built-in laser rangefinder, useful if you also range for a shot or judge distance for observation. It adds cost, so choose it only if you will use it.
Browse current options across all these features on the thermal monoculars page.
Choosing a thermal monocular by quarry
The right monocular changes with what you hunt. Here is how the decisions above combine for common quarry.
Coyotes, foxes, and predators. Shot at distance across open ground, often on the move, so reach and a quick, clean image are important. A 640 sensor with a 35 to 50 mm lens and low NETD is the best choice, as a predator’s coat can appear low-contrast against cold ground. See our best thermal monocular for hunting guides for predator-specific picks.
Hog and wild boar. Move in groups in cover, so a wide field of view helps you find and track the sounder. A 384 or 640 with a 25 to 35 mm lens is ideal, and hogs give off strong heat signatures, making them the easiest quarry to learn thermal on.
Deer management. You need to identify species and often sex before a cull decision, so resolution and a clean image matter more than raw range. A 640 monocular earns its cost here, as it is used to locate and count before you confirm with a day optic.
Small nocturnal game, such as rabbits, raccoons, and squirrels, are often in cover and require a wide field of view and a light, handy body rather than long reach. Shorter range, often in cover, so a wide field of view and a light, handy body beat long reach. An entry of 256 or 384 monoculars is genuinely enough.
The pattern: a big, open-ground quarry wants reach and resolution; a small, close, or in-cover game wants a wide field and a light body. Match the lens to the distance you actually shoot, not the highest number on the box.
Choosing a thermal monocular by brand
We carry every major thermal brand, so our advice is about matching you to the right device rather than clearing one maker’s stock. Here is where each brand’s strength lies for monoculars.
- Pulsar leads on build quality, the Stream Vision 2 app, and resale value. The Axion, Telos, and Helion lines are the benchmark for refinement. Best if you want the most polished device and the strongest used-market value.
- HIKMICRO covers the widest range of prices, from the budget Lynx to the long-range Condor LRF, with flagship sensitivity below 15 mK. Best if value or choice matters most.
- AGM offers strong sensitivity and the longest warranty in the category, with the Sidewinder, Taipan, and Fuzion lines. Best for maximum specifications per euro.
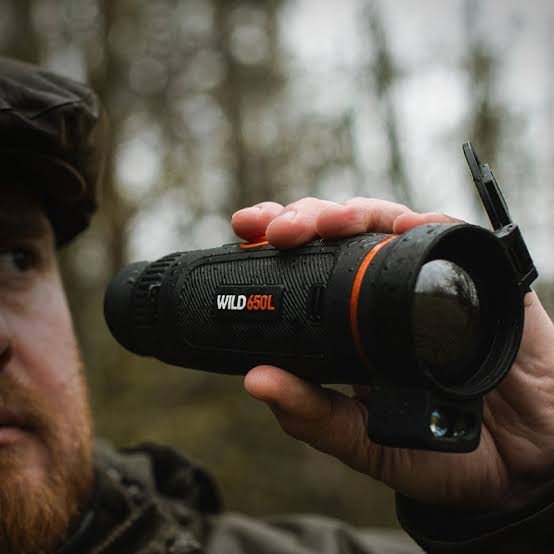
- ThermTec leads on sensitivity and endurance per euro, with the Cyclone, Cyclops, and Wild series, several of which offer a dual field of view. Best if low NETD and battery life are priorities.
- ATN packs in features like Wi-Fi, recording, and smart tools at competitive prices.
As a multi-brand retailer, we can provide honest comparisons across different makes, which a single-brand manufacturer site cannot. Let us know your budget and the type of thermal monocular you are looking for, and we will provide a shortlist of options from every brand we carry.
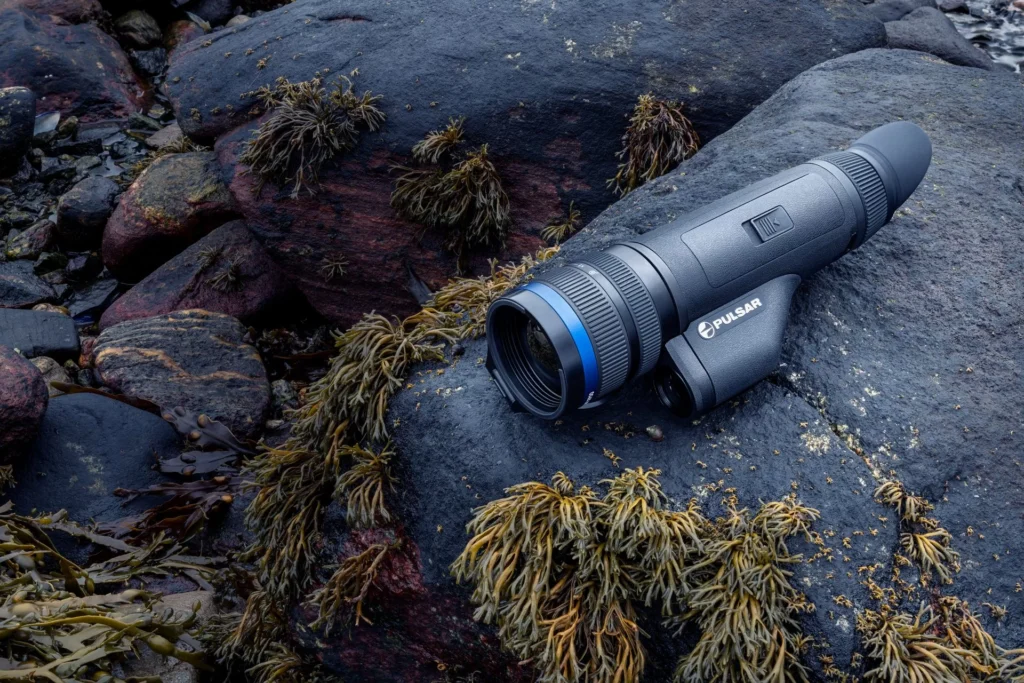
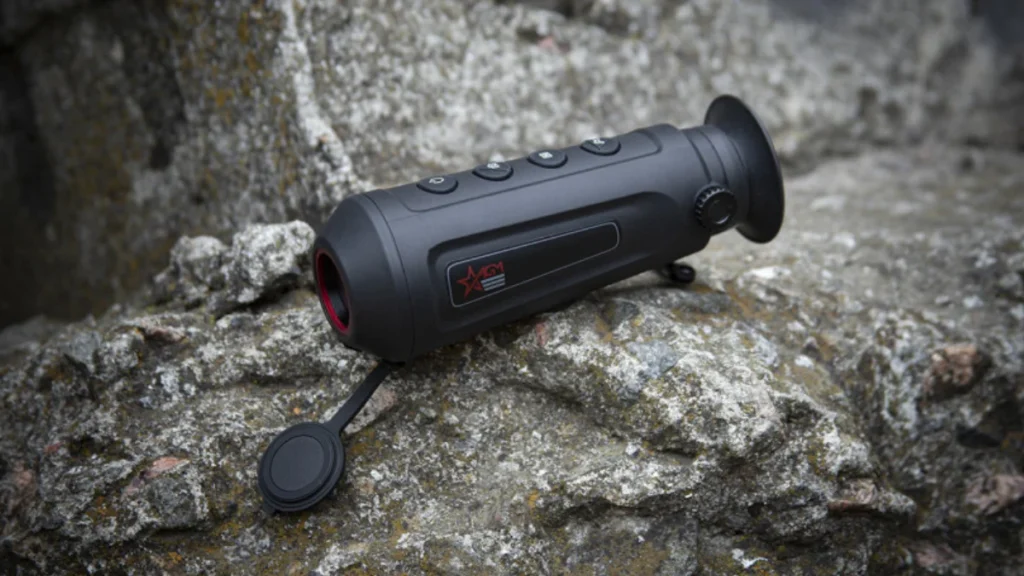
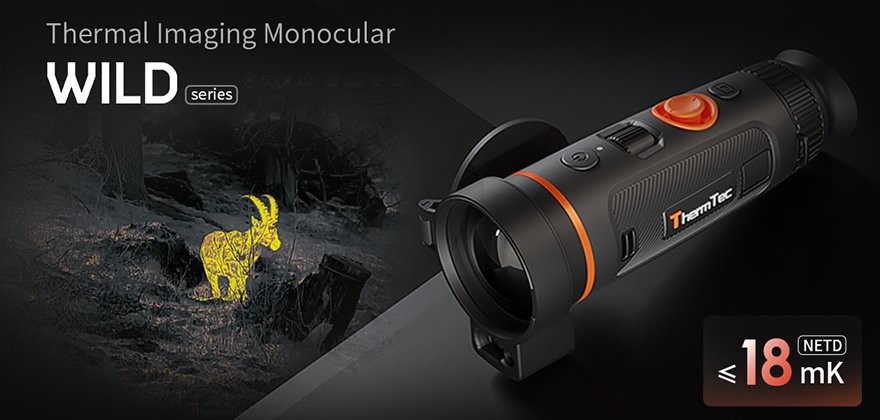
Thermal monocular comparison: entry to flagship
| Tier | Sensor | NETD | Typical price | Example |
|---|---|---|---|---|
| Entry | 256 | model-dependent | €420-900 | HIKMICRO Lynx, AGM Asp-Micro |
| Value | 384 | <20 mK | €1,000-1,500 | ThermTec Cyclops, AGM Sidewinder 384 |
| All-round | 640 | <18-20 mK | €1,800-2,700 | ThermTec Wild, AGM Sidewinder 640 |
| Flagship | 640 + LRF | <15-18 mK | €2,800-3,500 | Pulsar Telos LRF, AGM Fuzion LRF |
Prices are a guide in euros; verify current pricing on each product page. See the full range in the thermal monoculars category.
Accessories and setup: getting the most from your monocular
The device is the most important part of the decision, but a few extras can improve its field performance.
Spare batteries and a power bank. For any monocular you will use on long nights, carry spare 18650 cells or a USB power bank matched to the device.
A neck lanyard or harness. A monocular you scan with all night needs to hang ready to hand. A simple lanyard or bino-style harness keeps it secure and quick to raise.
A head mount, for some models. A few monoculars accept a head mount for hands-free walking, though dedicated goggles do this job better. If hands-free movement matters, consider whether a night vision goggle or dedicated setup suits you instead.
Care. Thermal monoculars are precision electronics. Let the device acclimatize when moving from a warm vehicle into cold air, keep the lens capped and clean, and store it dry. Unlike night vision, thermal does not suffer damage from daylight, so you can use and test it any time.
Monocular, binocular, or goggle: which form factor?
Thermal comes in three handheld or head-worn forms, and the monocular is only one. Knowing why it wins for most buyers helps you choose with confidence.
A thermal monocular is single-eye, lightweight, and the most affordable way to get into quality thermal. You scan with it, lower it, and keep your other eye dark-adapted, which is why experienced hunters often prefer a monocular over binoculars for mobile scanning. It is the most versatile choice and the one most people should buy first.
Thermal binoculars give two-eyed viewing, which is more comfortable for long, static observation and adds depth perception, but they cost more and weigh more. If you glass open ground for hours from a fixed position, binoculars are worth the extra cost. If long observation is your main use, compare the range of thermal binoculars.
Thermal goggles or head-worn units free both hands for walking but are a specialist choice. For the vast majority of hunting and observation, a handheld monocular is the right tool. If you want a fuller comparison of devices, read thermal monocular vs. scope vs. clip-on.
What a thermal monocular can and cannot do
Setting honest expectations before you buy prevents disappointment on the first night out.
What it does well. A thermal monocular finds warm animals in total darkness, fog, and light cover, at ranges no lamp or day optic can match. It reveals hidden game in undergrowth by their heat, tracks wounded animals by the warmth they leave, and speeds up the recovery of downed game. It works in daylight too, since it reads heat rather than light.
What it cannot do. Thermal shows heat and shape, not fine detail. It will not read a deer’s antler structure, a leg band, or a coat pattern, and it will not see through solid objects, glass, or heavy rain. It shows you that a warm shape is there and roughly what size it is, which is why serious hunters confirm identification with the monocular’s best image or a day optic before any shot. Understanding the gap between detection and identification, which is covered in how far a thermal monocular can see, is the single biggest step toward buying the right device.
If you need to identify fine detail at night rather than detect heat, night vision is the complementary technology, and many hunters eventually own both.
Common mistakes to avoid
- Buying on price alone. The cheapest 160 unit disappoints if you needed a 384-class identification range.
- Chasing magnification over resolution. High digital zoom on a small sensor just gives a bigger, blockier image.
- Ignoring NETD. Thermal sensitivity separates a crisp image from a noisy one, especially in wet weather.
- Overlooking battery type. An internal-only battery cannot be swapped on a long night.
- Confusing detection with identification. The big detection number is not the distance at which you can tell what an animal is.
- Buying a scope first. For most people a monocular is the safer, more versatile first thermal. See monocular vs. scope vs. clip-on.
Frequently asked questions
What is the most important feature in a thermal monocular?
Sensor resolution is the most important feature, because it decides how much detail you see and how far you can identify the game. A higher-resolution sensor at modest magnification beats a low-resolution sensor pushed to high zoom. After resolution, thermal sensitivity (NETD) and the lens matter most. Magnification and extras come last.
What sensor resolution should I choose?
Choose a 256 sensor for short to medium-range scanning and a first thermal, a 384 for all-round night hunting, and a 640 for long-range identification and open ground. For most European hunters, a 384 is the best value. Only step up to a 640 if you regularly need to identify game at a distance. See 384 vs 640 thermal for the full comparison.
What is a decent NETD for a thermal monocular?
Under 20 mK is the quality bar, and under 15 mK is elite. NETD measures thermal sensitivity, and a lower figure holds a cleaner image in the damp, low-contrast conditions common on European hunts. Entirely unique monoculars with the same resolution can look very different if their NETD differs, so treat it as a real quality marker.
Do I need a rangefinder in a thermal monocular?
A built-in rangefinder is useful if you use the monocular to judge distance for a shot or for observation at range, but it is not essential for pure scanning. Many hunters are well served by a monocular without one. If you want ranging, models with an LRF, such as the Pulsar Telos, are available at a higher price.
How much should I spend on a thermal monocular?
A good 384 thermal monocular costs roughly €1,000 to €2,000, while entry-level 160 or 256 units start at around €420. Flagship 640 monoculars run higher. Spend on the sensor resolution you need rather than the highest magnification. See how much a thermal scope costs for the full pricing picture.
What is the best thermal monocular for beginners?
For a first thermal on a budget, a 256 or entry-level 384 monocular from HIKMICRO or AGM is the honest starting point, giving real, usable performance without a four-figure spend. Prioritize a clean 384 sensor over high magnification. As your needs grow, you will understand exactly what to upgrade to.
Is a thermal monocular better than a thermal scope?
They do different jobs. A monocular is for finding, identifying, and tracking games and is the more versatile, safer first purchase. A thermal scope is for taking the shot. Many hunters run both: scan with the monocular and shoot with the scope. If you can only buy one, a monocular is usually the right choice first.
Should I buy a new or used thermal monocular?
For most buyers, new is the safer choice. Thermal optics are precision electronics, and a new unit comes with the full manufacturer warranty, the latest firmware, and no hidden history of drops or water damage. A used monocular can save money if it is a current model in good condition from a trusted source, but you take on more risk and usually lose warranty cover. If you buy used, check the sensor for dead pixels, confirm the battery holds charge, and make sure the model still receives firmware support.
Quick facts: how to choose a thermal monocular
| Choose in this order. | Range and budget, sensor, lens, extras |
|---|---|
| Most important spec | Sensor resolution |
| All-round choice | 384×288 sensor |
| Wet-weather marker | NETD below 20 mK |
| Lens rule | Short for woodland, long for open ground |
| Biggest mistake | Paying for Zoom over resolution |
Ready to choose? Browse the full thermal monocular range from Pulsar, HIKMICRO, AGM, and ThermTec, or read the best thermal monocular for hunting round-up. New to thermal? Start with the complete thermal imaging for the hunting guide or compare thermal vs night vision. Not sure what suits your needs? Let us know your budget and the type of thermal monocular you are looking for, and we will provide a shortlist of options from every brand we carry.